

How to add multiple fonts in a single sentence in Squarespace
You know how to add different fonts to your Squarespace website but do you know how to include different fonts in a single sentence? If not, today, I’ll be showing you how to do just that.
Not only can you add multiple fonts but you can customize its size, color, and so much more! Let’s get started.
Before we get started here’s a quick disclaimer: This blog is neither endorsed, sponsored, or affiliated with Squarespace. However, Please note that some links are affiliate links and I will earn a small commission if you purchase through those links. I use all the products below and recommend them because they are companies that I have found helpful and trustworthy. Please let me know if you have any questions about anything listed below.
It would seem obvious that I would want to use a code block for this purpose or even write out the sentence and then go to css tab to make further edits but I’m actually going to do this in Markdown.
Like I said before it’s a block it is so underused and one that I specially overuse for my website and clients websites. You can definitely do this with a code block or with full css edits but of course you run into a few hiccups such as going back and forth on tabs or having to add further codes inside a code.
Yuck!
So to save us time, save us some confusion, and overall keep us sane we’ll be using Markdown. Let’s begin.
1. Upload Font
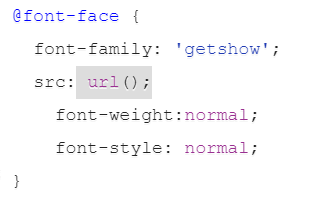
First, you’ll need to upload your font. You can do this by heading over to the css tab and uploading the font file (ttf) with the “manage custom file” button. Below is the code you may use to upload your font correctly. If you already uploaded your font file head down to step two.
In line 2 add the name of the font. We’ll use this name in the markdown block when it comes time to add multiple fonts in step two.
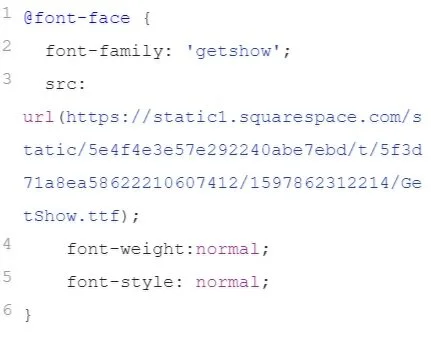
In line 3 the url link will be the file you uploaded. Insert the code below and put your cursor between the url parentheses, go to your font file and click on it. A link will be created for this font and will display like the second image.
Now we can move on to step 2.
Save and move on to step two.
2. Add Markdown
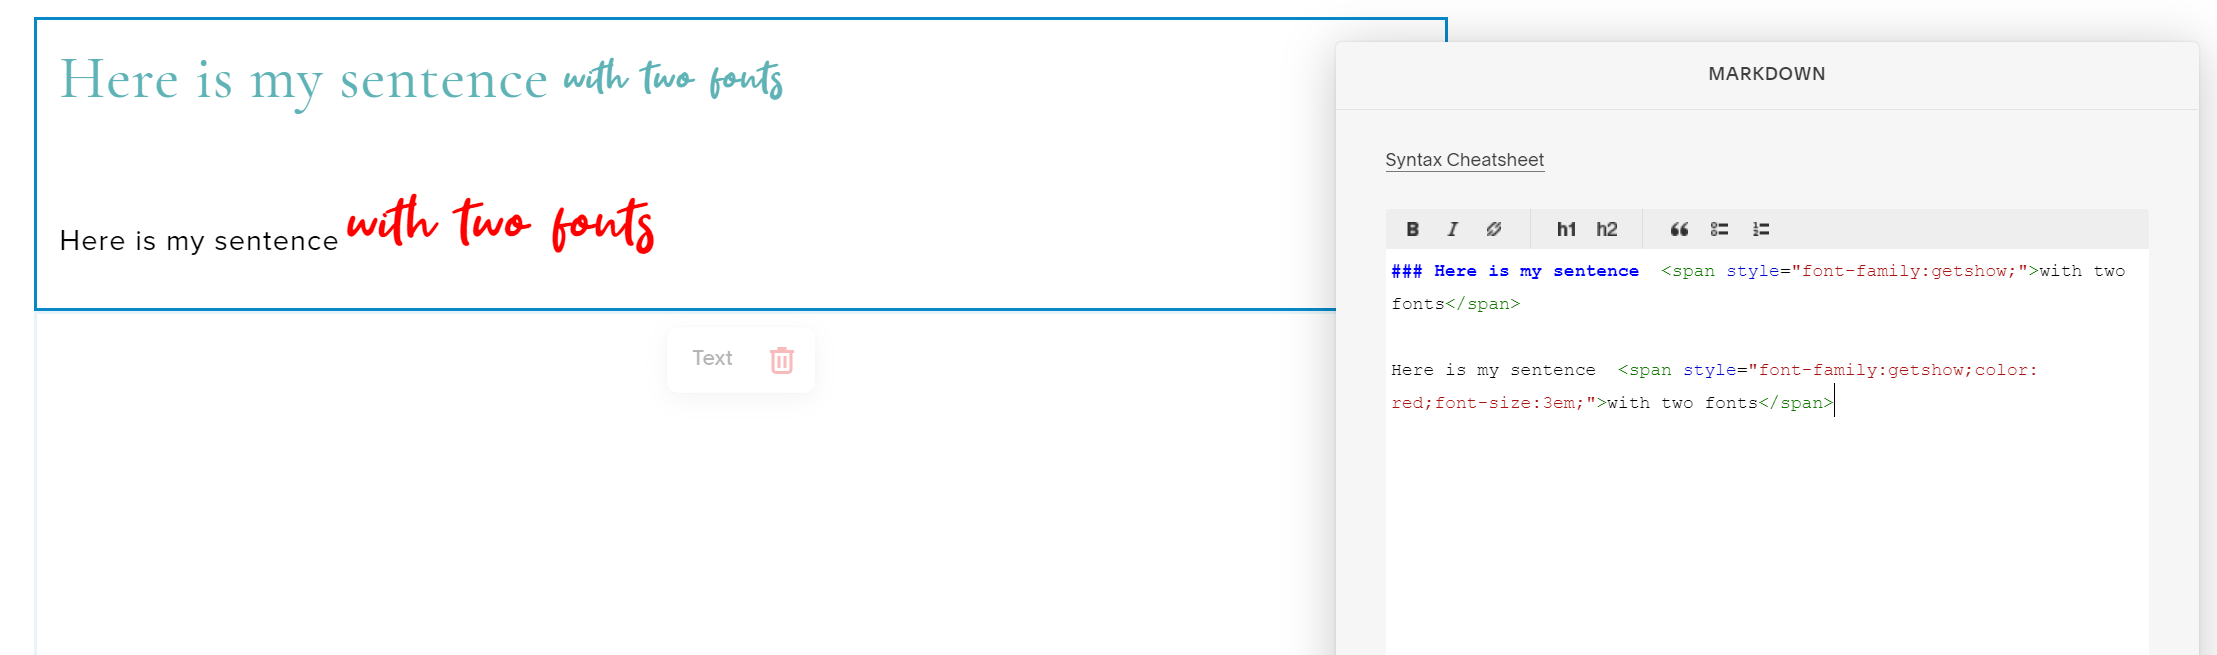
Now we’re ready to add our sentence. Insert a markdown block and write out your sentence. Here’s the code we’ll use, copy and paste to your markdown.
Here is my sentence <span style="font-family:getshow;">with two fonts</span>
Here is what mine looks like but it’s in regular text format. Now we can move on to step three and customize.
Here is my sentence with two fonts
3. Customize
In order to customize your font you will need to add your css edits inside the span style section (style=” ”).
You can add color, size, line height, and even background colors. Here my example.
That’s it! Have fun coding and creating one of a kind designs.
Full code below:
Add your first sentence part here and <span style="font-family:fontname;color:color;font-size:1em;">second part here</span>
That’s it for now and I hope this blog was helpful and I hope you learned something new today. If you’ve created some great stuff on Squarespace I’d love to see what you designed. Share your comments, questions, and thoughts below! 😃
Ciao!
-Berenice